Fondant 101
This week is going to be all about fondant here on the Beki Cook's Cakes Blog.
 Fondant is everywhere. ALL of the cake shows use - in my opinion - entirely too much fondant. But if you talk to most people, they have rarely, if ever, eaten the stuff. They talk about peeling it off of the cake before eating it. So, what's the point?! Well, it is beautiful! And if you're at all artistic, it's amazing the kinds of 'sculptures' you can do with it.
 This post serves as a kind of introduction to fondant. Although, I will recommend that if you really don't know much about fondant, but would like to get into it, take a real class! It's nice to have someone who knows what they're talking about to answer your questions along the way, and help correct you if there's something you misunderstand. Check out your local craft store, kitchen store or community education catalog. I teach Wilton cake decorating classes at JoAnn Fabrics in Edina, Minnesota. I also teach other cake classes of my own through community education programs around the East Metro of the Twin Cities.
Let's get started:
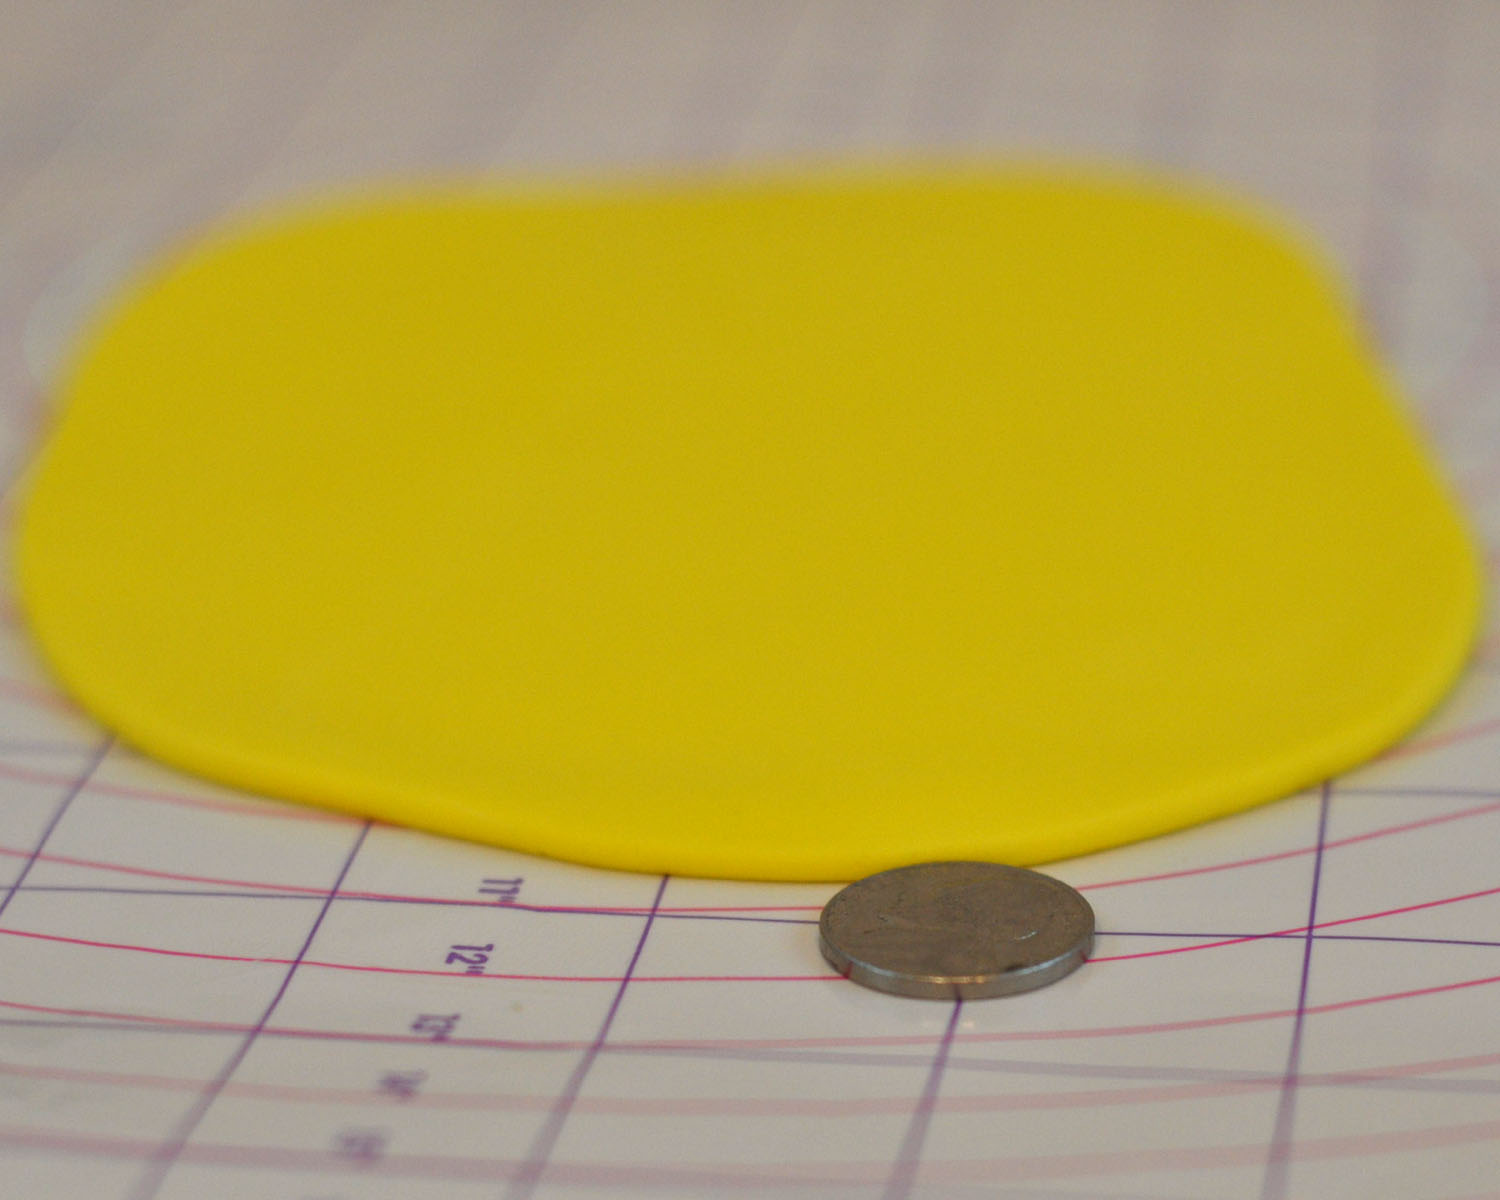
What is fondant?
 Fondant is an 'icing' that you roll out to cover a cake. Now, there is also a fondant called poured fondant, but that's not nearly as popular, and to be perfectly honest, I have yet to find a recipe for that worth anything.
Rolled fondant is made of gelatin, glycerine, sugar... it's kind of like a marshmallow.
Why use fondant?
 Fondant is amazing. You can do things with fondant that you couldn't even dream of doing with regular icing. It also has that really pretty, completely smooth finish. And I guess people figure that since you really can just peel it off if you don't want to eat it, that you're not losing much by using it.
Where do you get it/ how do you make it?
 Even on most of those cake shows on TV, you see that they buy their fondant rather than making it themselves. You can buy fondant at craft stores, kitchen stores, restaurant supply stores, and of course, online.
You absolutely can make it yourself as well. This week, I will share two of my recipes for fondant. One for homemade fondant from scratch, and one using marshmallows as its base. (Stay Tuned!)
Is fondant hard to use?
I don't think fondant is hard to use, but it is kind of fussy, so you need to know how to handle it, how to prepare it, how to apply it to the cake. It's one of those things that takes practice to get it perfect. But it's kind of expensive to buy, so sometimes it's hard to want to spend that kind of money on something that you might mess up.
How do you handle fondant?
 Fondant is sticky, tricky stuff. I always recommend that my students use store-bought fondant a time or two so that they can learn what the consistency should be before they try to make it themselves at home.
To keep fondant from sticking to everything in sight- your hands, your rolling surface, always use a generous coating of shortening.
Know that fondant dries out pretty quickly. You will need to keep any unused fondant wrapped tightly with plastic wrap, or stashed inside of a plastic bag.
Fondant is a dust, lint and pet hair magnet. It will pull those things in from another room! So be sure you have cleaned any surface you're using really, really well, and try to make sure you don't have any fans pointing towards the fondant so that they don't blow the dust and lint right on to it.
How do you store fondant?
 Fondant is usually stored at room temperature. You will want to wrap it tightly with plastic wrap that has been sprayed with cooking spray, or rub it with shortening before wrapping it. Then place the plastic wrap into a zip top bag or an airtight container.
Fondant usually lasts 3 weeks to a month if properly stored.
How do you color fondant?
 You color fondant just as you color icing, using gel-based food coloring. However, the glycerine in the gel colors will start to make the fondant extra sticky, so if you're going for a really dark color, you may find that you need to knead in some more powdered sugar along the way.
What tools do I need to use fondant?
It's a good idea to have a few basic fondant tools before you get started.

A good rolling pin. This one is made by Wilton (see below for links to my shopping list). You can buy the little rings that go around the edges to help you roll it to a proper thickness. The key is that you don't want it to stick to the fondant. And you want it to be free of any nicks or dings because those will actually show up on the fondant. (That's why I don't like to use my wooden rolling pin with it... that has a few nicks in it.)
A rolling mat. You can buy many that are either plastic-coated or made of silicone. I find the silicone ones are too heavy to use, so I like the plastic-coated ones. You want a mat so that you know how large of a circle you're rolling when you're rolling the fondant to cover the cake. You can also use waxed or parchment paper that you've taped down to your counter top.
A turntable. Now, this is not mandatory for fondant, but it makes life SO much easier when you're trying to cover a cake with it. You can buy some basic ones for less than $15. A turntable is a great, great thing to have for cake decorating. Now, if you have a lazy susan in your kitchen that you use for something else, that's a great substitute.
Now you know the basics. So, you're ready to start making your own fondant or decorating with it.
Ahead this week:Tuesday: The easiest homemade fondant: Marshmallow Fondant Recipe
Wednesday: A Scratch Fondant Recipe that actually tastes good enough to eat.
Thursday: Step-by-Step How To Cover a Cake with Fondant
Friday: The Great Fondant Comparison. I am taking 5 different kinds of fondant, using them to cover cakes, and hosting a taste-test to see which one holds up to the task of covering a cake beautifully, tastes good, and doesn't break the bank or take too long to make.
Click the Links Below to See:
Fondant Decorating Ideas
Cake Decorating Ideas and Projects
Read More


Let's get started:
What is fondant?

Rolled fondant is made of gelatin, glycerine, sugar... it's kind of like a marshmallow.
Why use fondant?

Where do you get it/ how do you make it?

You absolutely can make it yourself as well. This week, I will share two of my recipes for fondant. One for homemade fondant from scratch, and one using marshmallows as its base. (Stay Tuned!)
Is fondant hard to use?
I don't think fondant is hard to use, but it is kind of fussy, so you need to know how to handle it, how to prepare it, how to apply it to the cake. It's one of those things that takes practice to get it perfect. But it's kind of expensive to buy, so sometimes it's hard to want to spend that kind of money on something that you might mess up.
How do you handle fondant?

To keep fondant from sticking to everything in sight- your hands, your rolling surface, always use a generous coating of shortening.
Know that fondant dries out pretty quickly. You will need to keep any unused fondant wrapped tightly with plastic wrap, or stashed inside of a plastic bag.
Fondant is a dust, lint and pet hair magnet. It will pull those things in from another room! So be sure you have cleaned any surface you're using really, really well, and try to make sure you don't have any fans pointing towards the fondant so that they don't blow the dust and lint right on to it.
How do you store fondant?

Fondant usually lasts 3 weeks to a month if properly stored.
How do you color fondant?

What tools do I need to use fondant?
It's a good idea to have a few basic fondant tools before you get started.

A good rolling pin. This one is made by Wilton (see below for links to my shopping list). You can buy the little rings that go around the edges to help you roll it to a proper thickness. The key is that you don't want it to stick to the fondant. And you want it to be free of any nicks or dings because those will actually show up on the fondant. (That's why I don't like to use my wooden rolling pin with it... that has a few nicks in it.)
A rolling mat. You can buy many that are either plastic-coated or made of silicone. I find the silicone ones are too heavy to use, so I like the plastic-coated ones. You want a mat so that you know how large of a circle you're rolling when you're rolling the fondant to cover the cake. You can also use waxed or parchment paper that you've taped down to your counter top.
A turntable. Now, this is not mandatory for fondant, but it makes life SO much easier when you're trying to cover a cake with it. You can buy some basic ones for less than $15. A turntable is a great, great thing to have for cake decorating. Now, if you have a lazy susan in your kitchen that you use for something else, that's a great substitute.
Now you know the basics. So, you're ready to start making your own fondant or decorating with it.
Ahead this week:Tuesday: The easiest homemade fondant: Marshmallow Fondant Recipe
Wednesday: A Scratch Fondant Recipe that actually tastes good enough to eat.
Thursday: Step-by-Step How To Cover a Cake with Fondant
Friday: The Great Fondant Comparison. I am taking 5 different kinds of fondant, using them to cover cakes, and hosting a taste-test to see which one holds up to the task of covering a cake beautifully, tastes good, and doesn't break the bank or take too long to make.
Click the Links Below to See:
Fondant Decorating Ideas
Cake Decorating Ideas and Projects